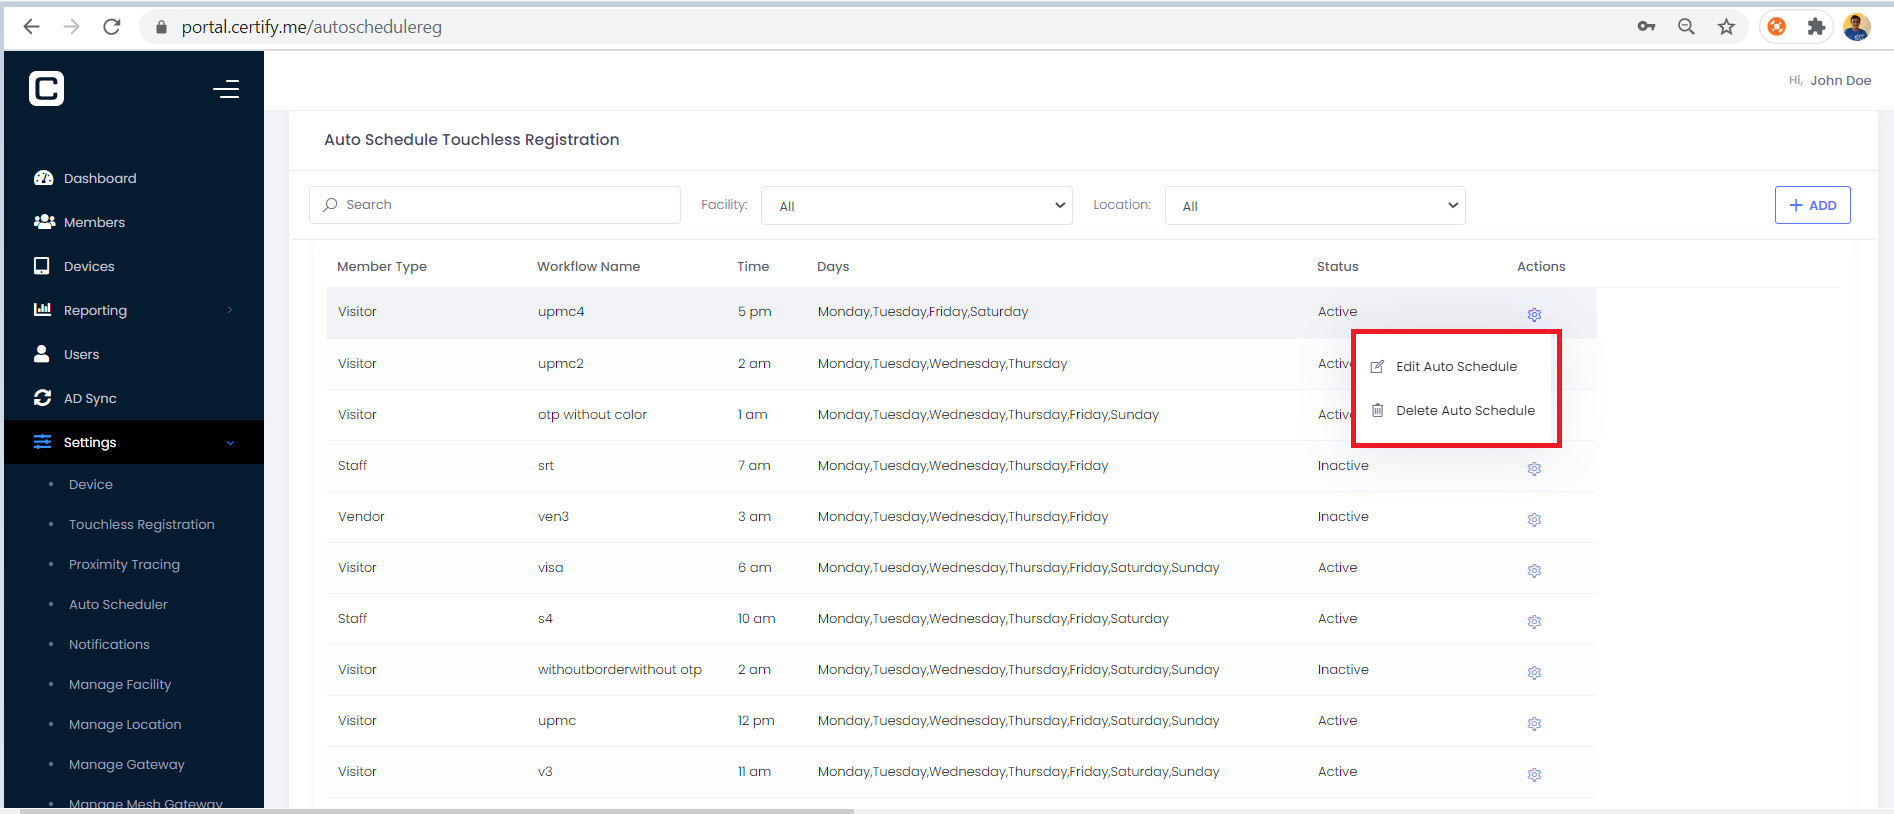
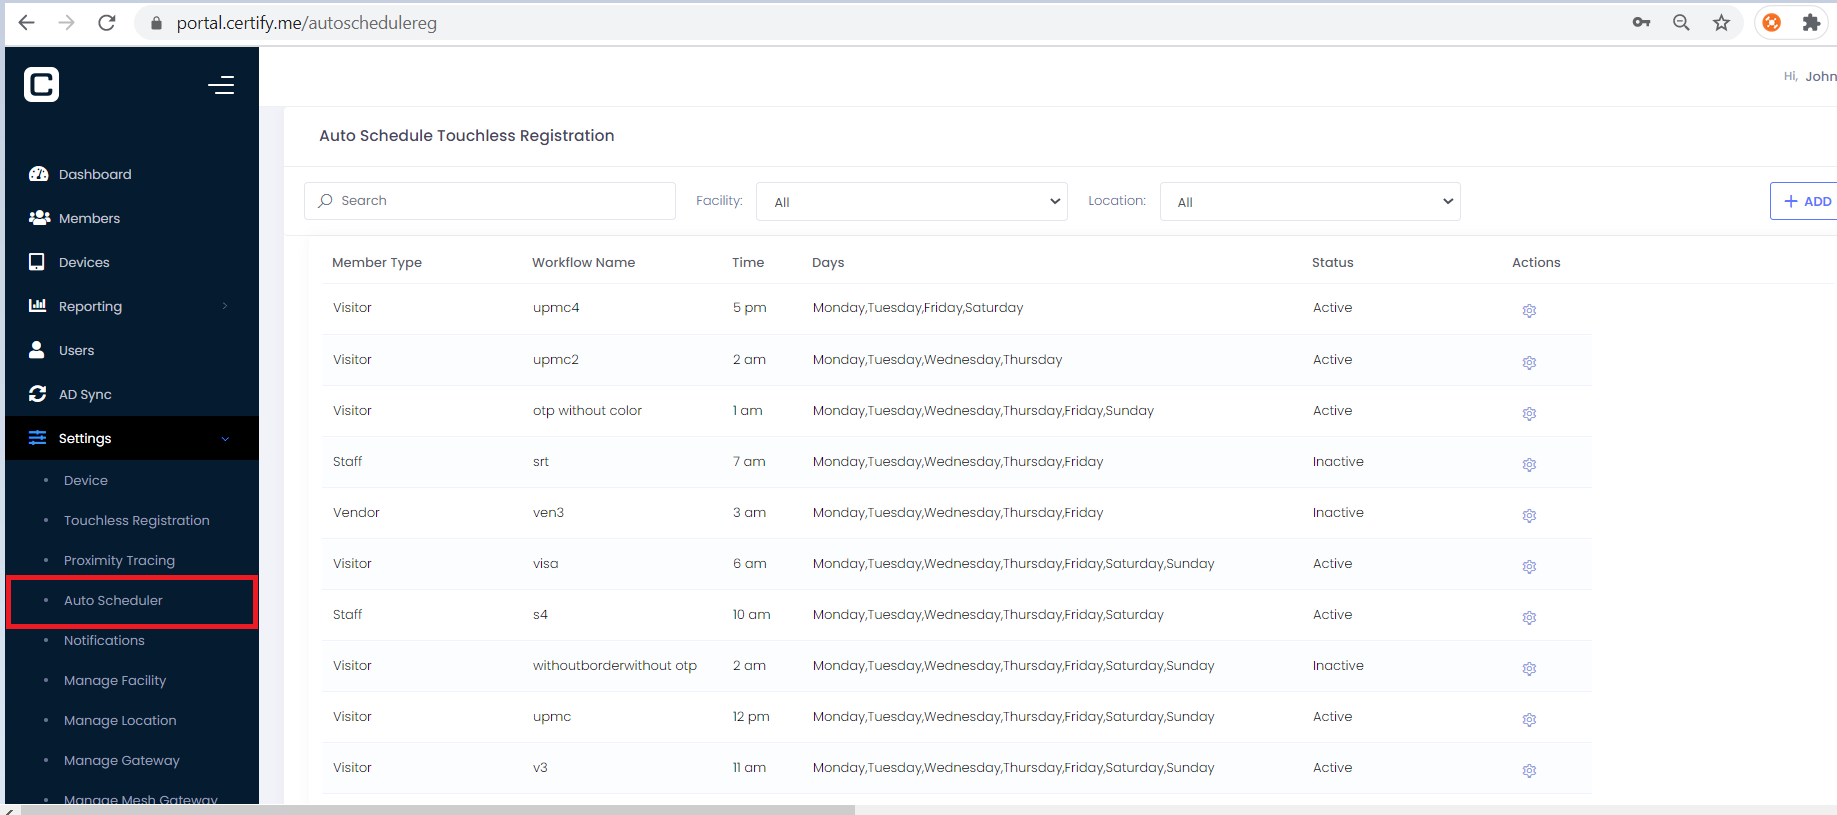
Click on Auto Schedule Registration tab. User can see Auto Schedule Touchless registration page as shown in the image.
Member Type:
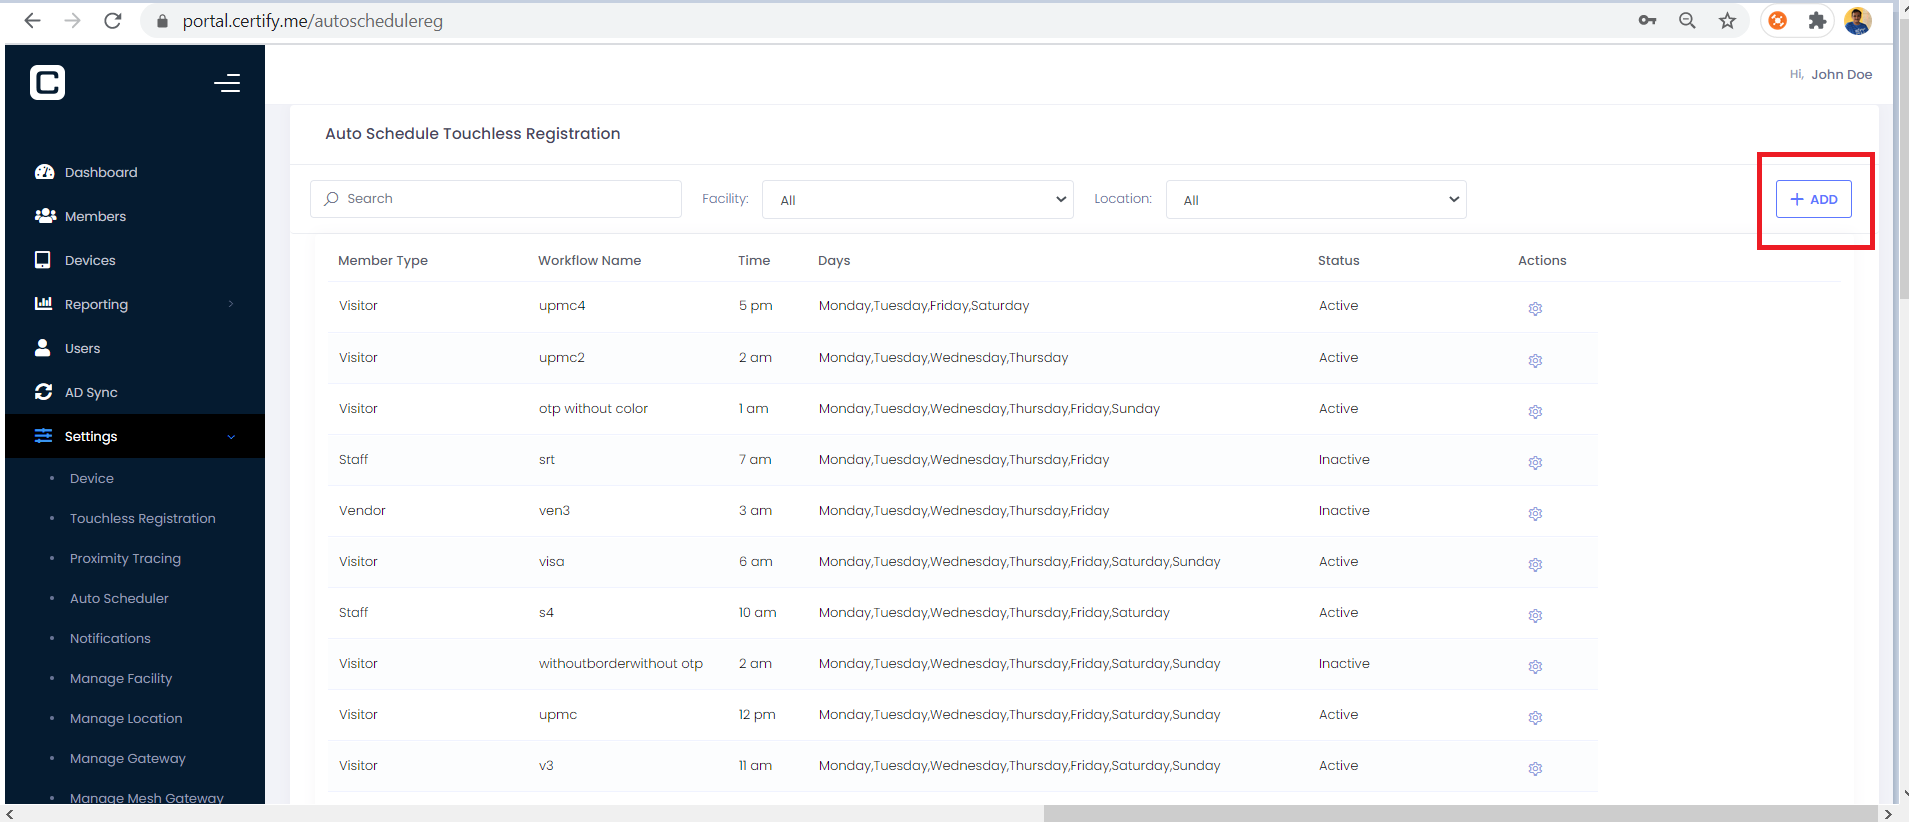
In order to add the scheduler, click ADD button and popup box opens.
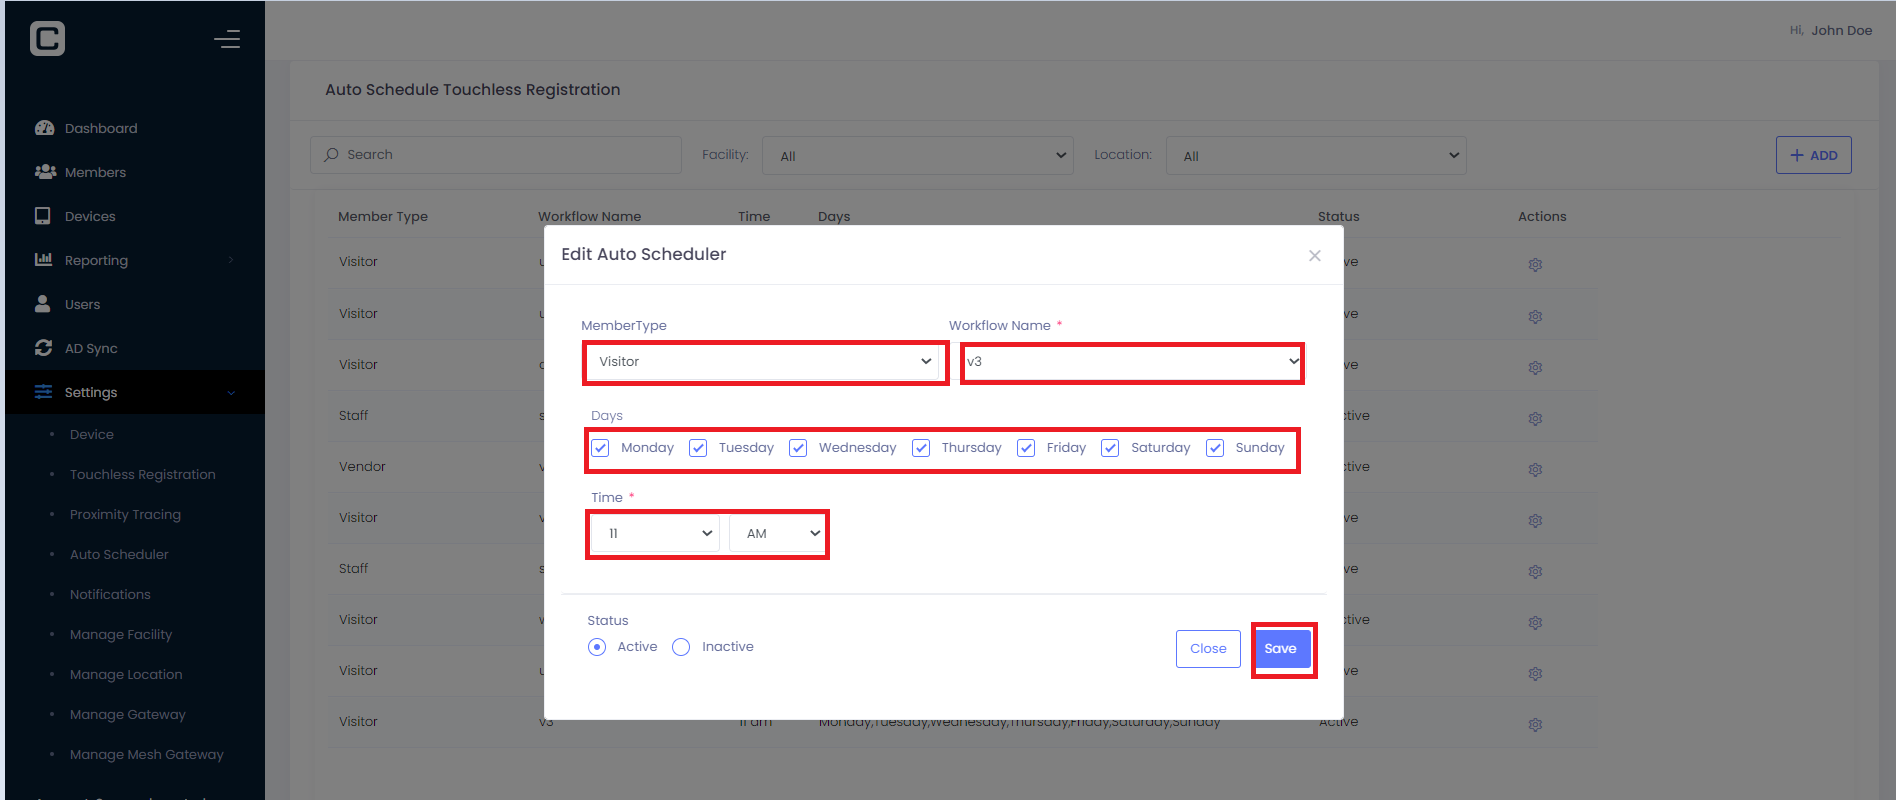
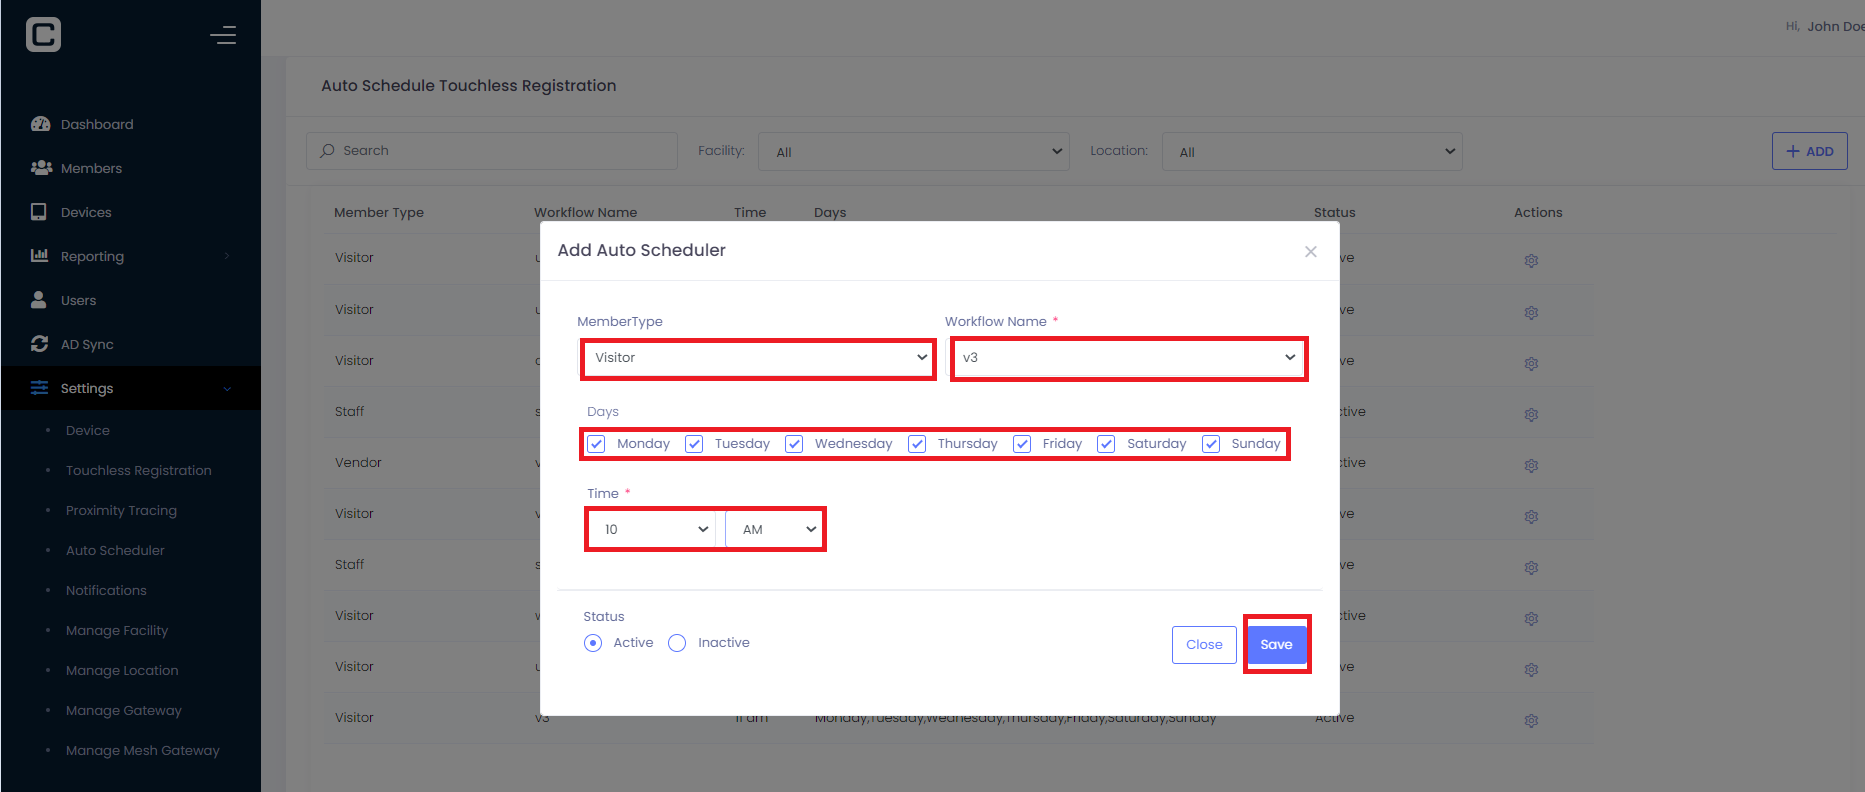
User can select the Member Type where link can be sent to the selected member type selected under this dropdown at the scheduled time.
User can select multiple days in a week on which the link will be sent to the members who belongs to the selected member type, selected under the member type dropdown.
Time: User can select the specific time at which the link for auto touchless registration will be sent to the members who belongs to the member type selected.
Status: User can select the status of the member type from this dropdown.
User can use the Action button to delete scheduled auto scheduler registration or edit the auto scheduler registration.
For editing auto scheduler, select Edit Auto Scheduler and updates the values as image is shown below.
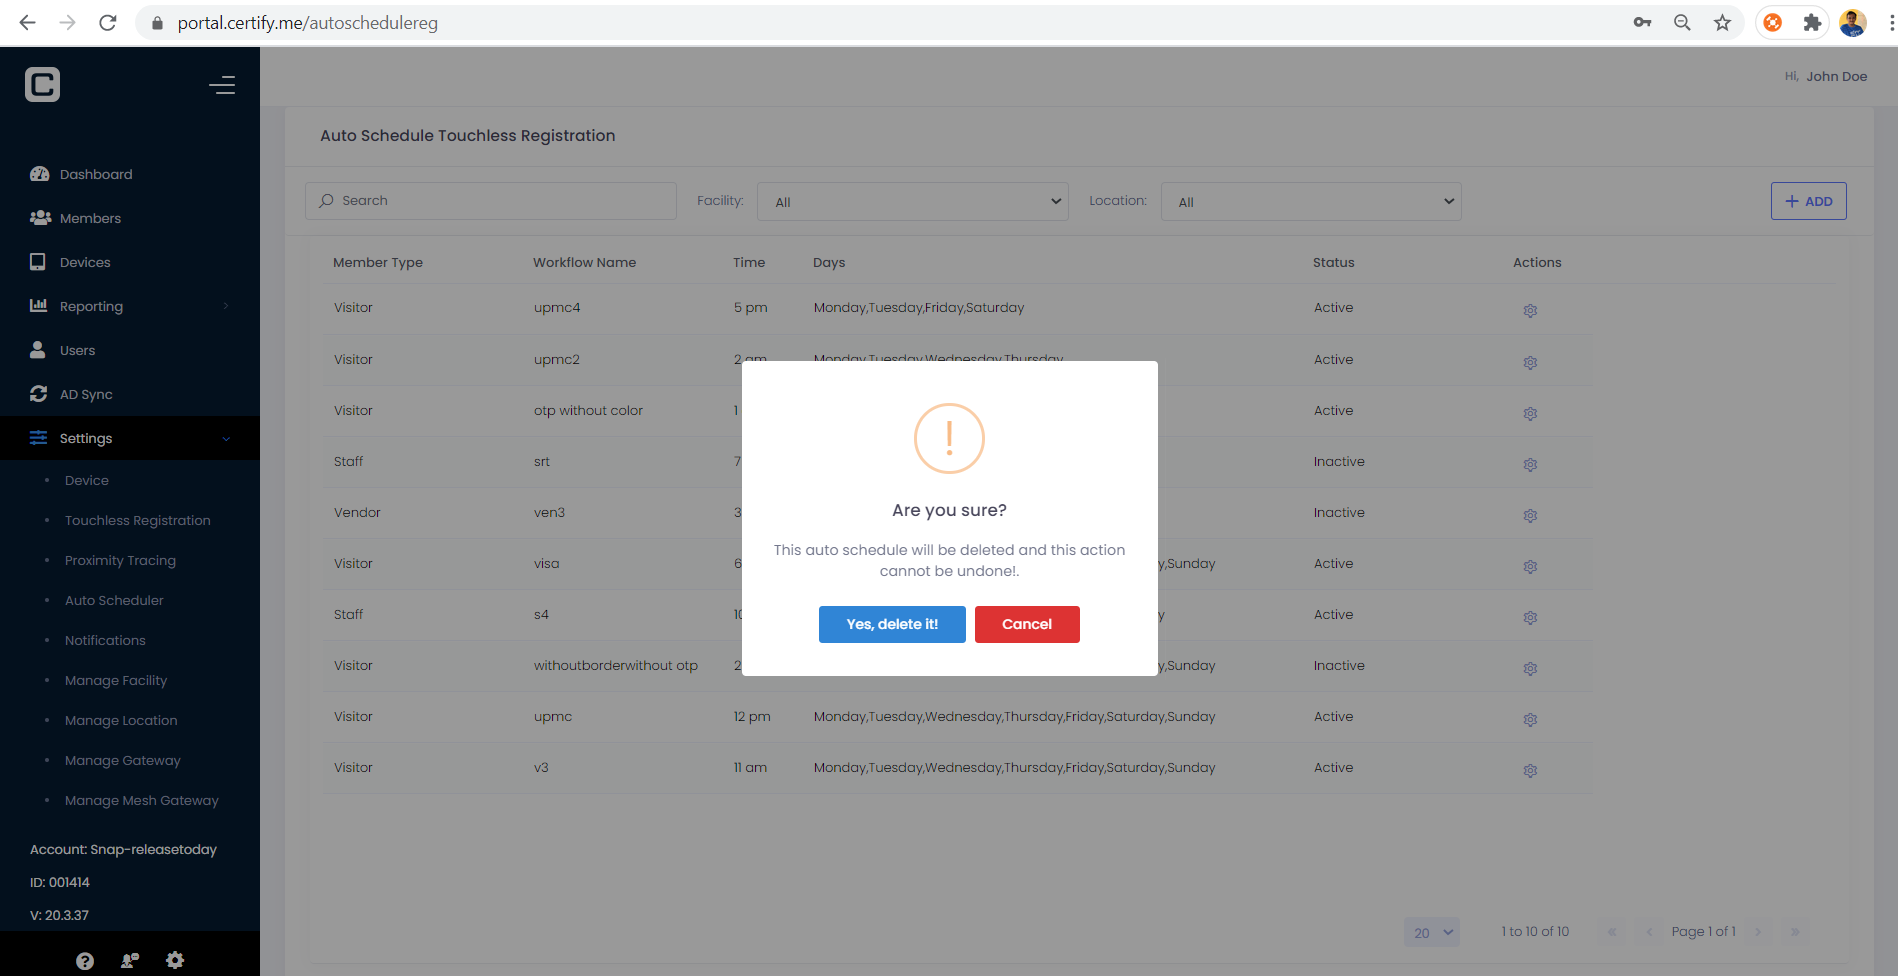
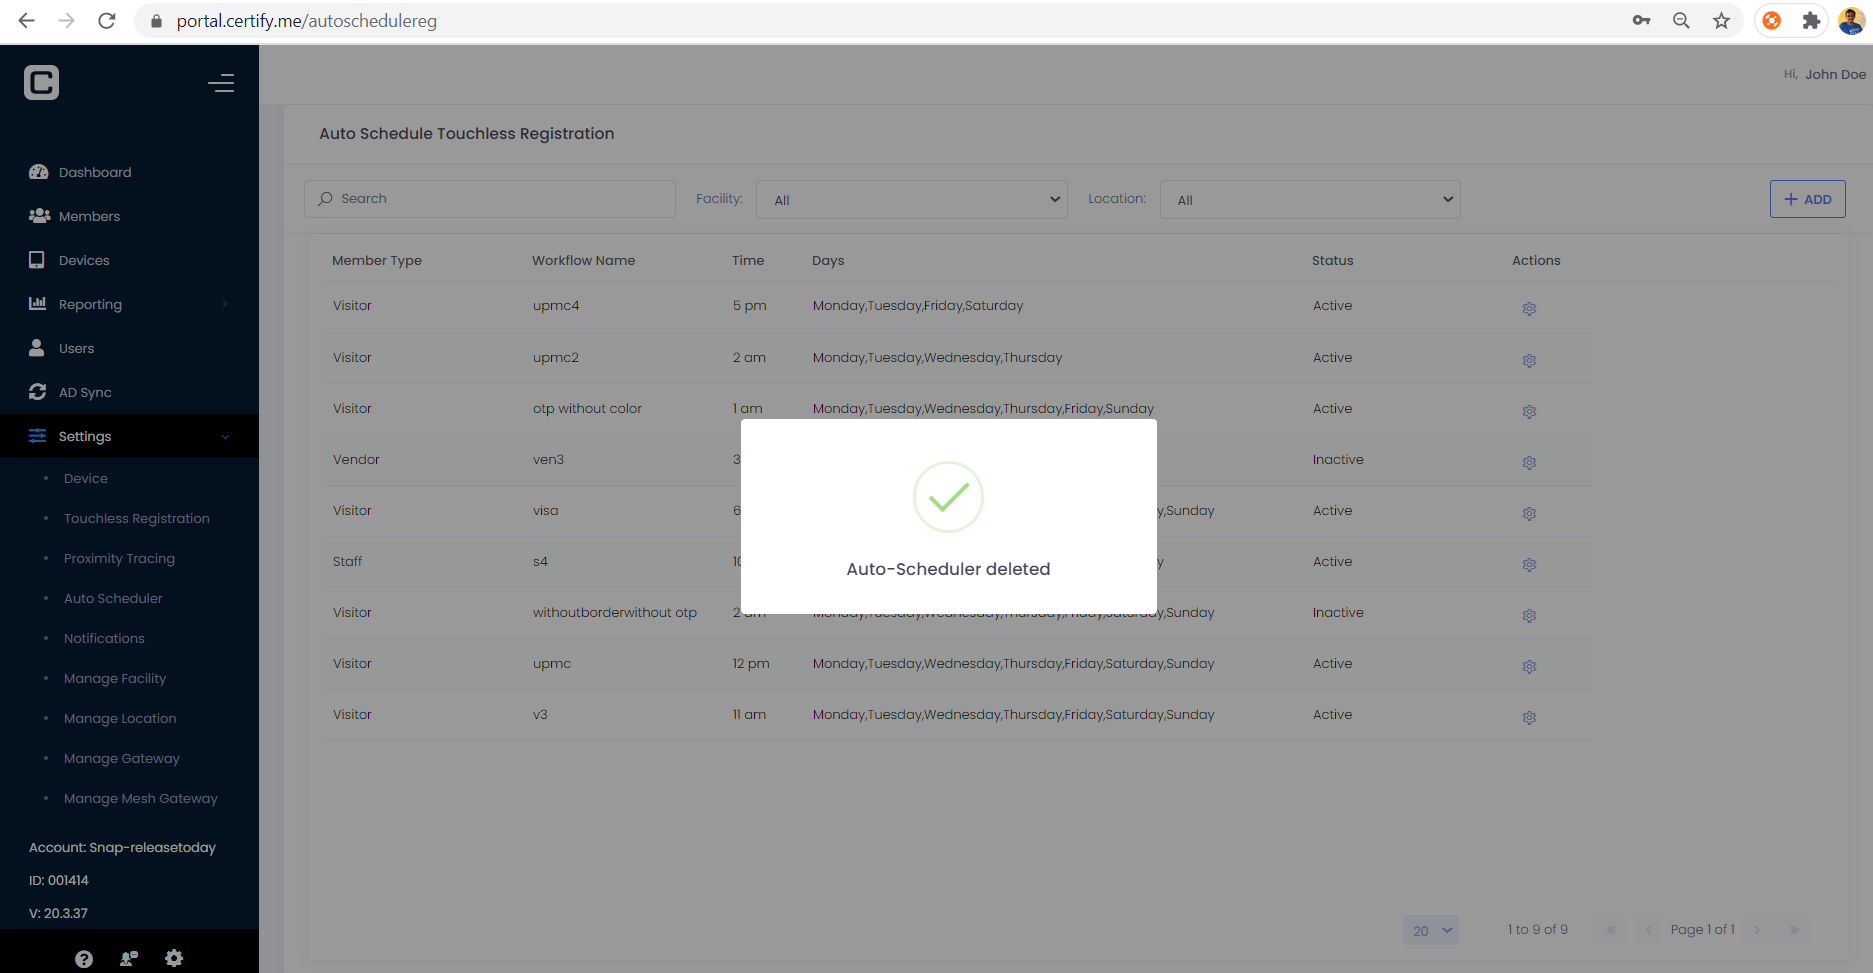
For deletion, just click Delete Auto scheduler and it asks confirmation whether to delete and once it is confirmed by click yes button. Auto scheduler is deleted.
